Three colored towers anchor the island, and each one works the same way: fill its slots with collectibles of its colour, take the key it drops, and unlock the next chunk of the route.
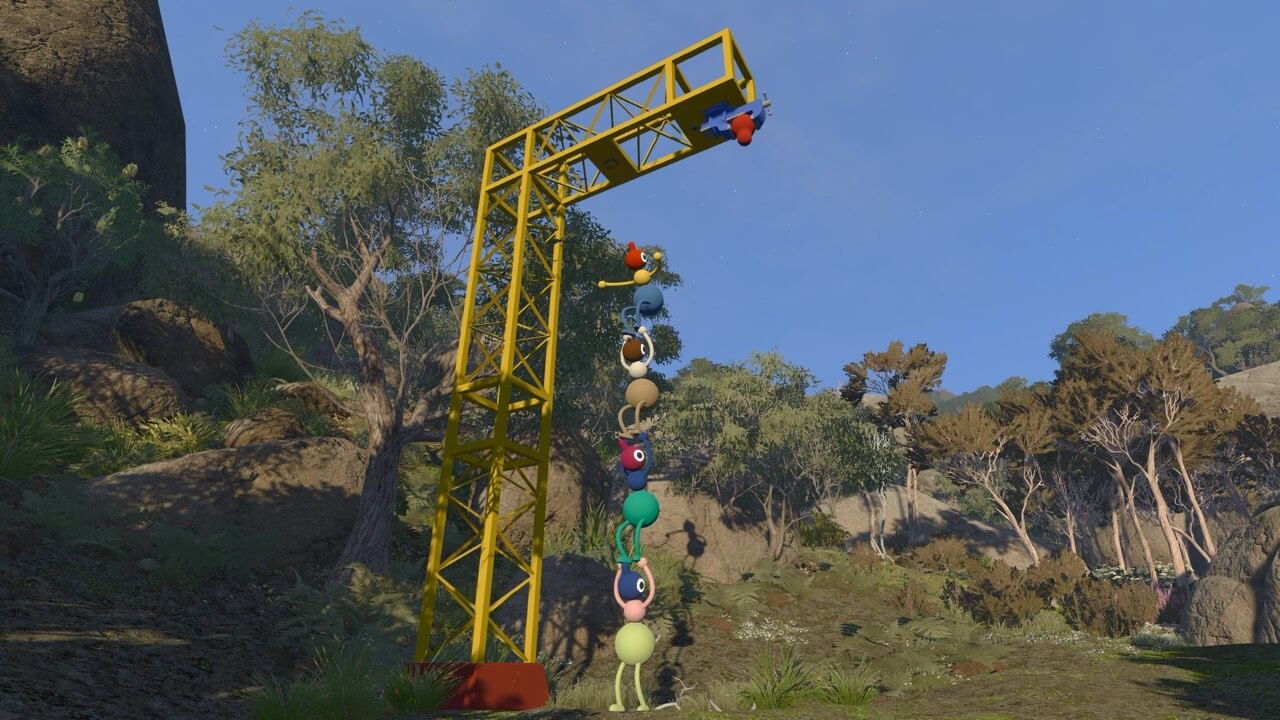
Red Tower
The first tower you meet, and the one that matters most. You'll spot it from the starting area, just past the tutorial.
- Ask: 5 red collectibles.
- Reward: A key that opens the Map Room (the blue doorway).
- Why it matters: The Map Room gives the island overview that turns wandering into walking. Everything after the bridge gets easier with it.
Green Tower
The recommended second stop. Same collect-and-slot loop, less spatial confusion than the red tower's spread-out puzzles.
- Ask: 5 green collectibles (community estimate).
- Reward: Opens side routes and a smoother path to the yellow tower.
Yellow Tower
The hardest of the three — expect more traversal, more backtracking, and the most demanding puzzles.
- Ask: 5 yellow collectibles (community estimate).
- Reward: Progress toward the summit route.
Map Room
Not a tower, but the reason the red tower comes first. The Map Room is locked behind the red tower's key and gives your group a full overview of the island — worth treating as a waypoint on every route plan.
Can you miss a tower?
No — the towers are permanent and can be climbed in any order, whenever your group gets to them. The only soft deadline is the red tower: it must be completed before the Map Room unlocks, and the Map Room is the fastest way to read the whole island. Green and yellow can wait as long as you like.
Tower table
| Tower | Collectibles | Key unlocks | Difficulty |
|---|---|---|---|
| Red | 5 red | Map Room | Medium |
| Green | 5 green (community) | Side routes | Easy |
| Yellow | 5 yellow (community) | Summit path | Hard |
Related: Walkthrough · Red collectibles · The island.